

SSO is built on the concept of Federated Identity, which is the sharing of Identity attributes across trusted but autonomous systems. When a user is trusted by one system, they are automatically granted access to all others that have established a trusted relationship with it. This provides the basis for modern SSO solutions, which are enabled through protocols like OpenID Connect and SAML 2.0.
.avif)
SSO works like digital keys that prove a user's Identity. Whenever a user logs in to a SSO service, it generates an authentication token to remember the user for future sessions. The authentication token is a piece of digital information stored on a user’s browser or the server.
This token grants the user access, via the SSO service, to all applications the user needs to access. When a user wants to sign in, the Single Sign-On service passes the authentication token to the app and allows access without asking them for credentials again. If users are not logged in, the application redirects them to the Single Sign-On service for authentication.
.avif)
SSO services do not store the user’s ID, so they usually are not aware of the identity of specific users. Typically, Single Sign-On services integrate with an identity management service and match a user’s credentials to user data stored there. Single Sign-On is an intermediary that can verify that a user’s login credentials match their identity without managing the user database itself.
There are a variety of protocols and standards to be aware of when identifying and working with SSO. These include:
- Security Access Markup Language: SAML is an open standard that encodes text into machine language, enabling the exchange of identification information. As a core standard for SSO, it helps application providers ensure their authentication requests are appropriate. SAML 2.0 is specifically optimized for web applications, allowing information to be transmitted through a web browser.
- Open Authorization: OAuth s an open-standard authorization protocol that transfers identification information between apps and encrypts it into machine code. This empowers users to grant an application access to their data in another application without having to validate their identities manually.
- OpenID Connect: OIDC sits on top of OAuth 2.0 to add information about the user and enables the SSO process. It allows one login session to be used across multiple applications. For example, OIDC enables a user to log in to a service using their Facebookk or Google account rather than entering user credentials.
- Kerberos: Kerberos is a protocol that enables mutual authentication, whereby both the user and server verify the other’s identity on insecure network connections. It uses a ticket-granting service that issues tokens to authenticate users and software applications like email clients or wiki servers.
- Smart card authentication: Beyond traditional SSO, hardware can facilitate the same process, such as physical smart card devices that users plug into their computers. Software on the computer interacts with cryptographic keys on the smart card to authenticate each user. While smart cards are highly secure and require a PIN to be operated, they have to be physically carried by the user, running the risk of being lost. They can also be expensive to operate.
-
Organizations that deploy SSO reap a wide range of benefits, from avoiding the risks presented by password recycling to delivering a seamless user experience. Key benefits of SSO include:
- Decreased attack surface: SSO eliminates password fatigue and poor password practices, immediately making your business less vulnerable to phishing. It enables users to focus on memorizing one strong, unique password and reduces time-consuming and costly password resets.
- Seamless and secure user access: SSO provides real-time insight into which users accessed applications when and where from, allowing enterprises to protect the integrity of their systems. SSO solutions also address security risks such as an employee losing their corporate device, enabling IT teams to immediately disable the device’s access to accounts and critical data.
- Simplified user access auditing: Ensuring the right people have the right level of access to sensitive data and resources can be tricky in an ever-changing business environment. SSO solutions can be used to configure a user’s access rights based on their role, department, and level of seniority. This ensures transparency and visibility into access levels at all times.
- Empowered and productive users: Users increasingly demand quick and seamless access to the applications they need to get their jobs done. Managing requests manually is a painstaking process that only serves to frustrate users. SSO authentication eliminates the need for manual oversight, enabling immediate access to up to thousands of apps with a single click.
- Future-proofing: SSO is the first step in securing your company and its users. Additionally, SSO allows organizations to implement other security best practices, including deploying multi-factor authentication (MFA) and hooking into Identity proofing, risk ratings, and consent management tools to address compliance needs and mitigate fraud.
SSO implementation revolves around a central server. All applications trust this master server and use it to access login credentials. If your organization has multiple applications, they probably run on different servers, using different user directories and authentication mechanisms. For single sign-on to work, you must integrate all your applications with the central SSO server.
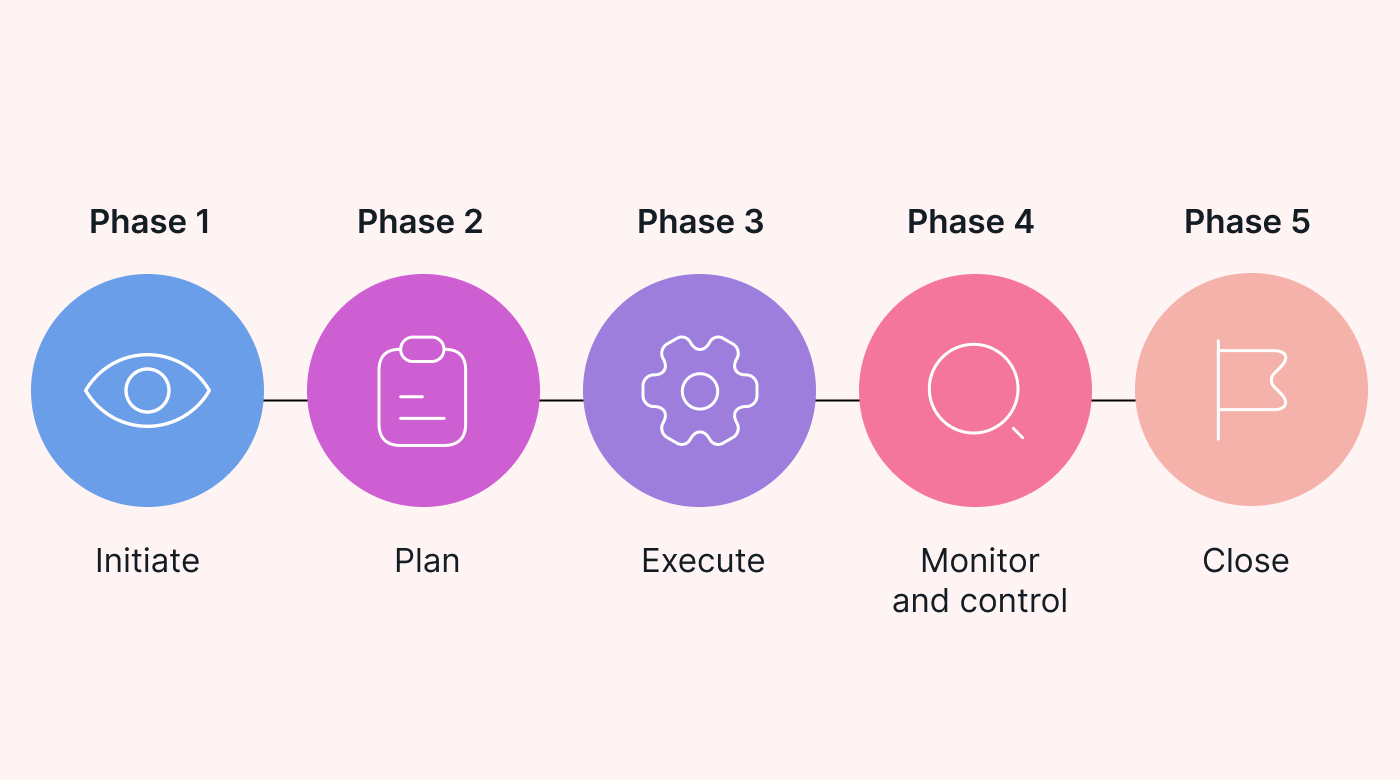
Follow these steps to implement SSO authentication in your organization.
1. Map Out The Applications You Want to Connect to SSO
Identify which applications should be part of your SSO structure. Look at user login patterns and identify which users need to access which applications. Create SSO “bundles” for each set of applications commonly accessed by a group of users. See if your SSO solution has built-in integrations with them. If not, prepare development resources to build an integration.
2. Integrate With Identity Provider (IdP)
If you have your own identity provider, ensure the SSO solution can integrate and test the integration. Determine the protocol you will use to connect to the IdP, typically Security Assertion Markup Language (SAML). Otherwise, see which external IdPs your SSO solution supports—social login via platforms like Google or Facebook is commonly used and is convenient for most users.
3. Verify The Data in Your Identity Directory
For SSO to work, you must have accurate, authoritative information about your users. It is also critical for identities in your IdP to match up with identities used in applications connected via SSO. Ensure that each user in your user database has an up-to-date email and credentials. The data verification process is also an opportunity to remove old users and revoke unnecessary privileges.
4. Evaluate User Privileges
Before implementing SSO, carefully evaluate which users or roles have access to which applications. Most organizations adopt the least-privilege principle, where each user receives the minimal privileges they need to perform their function. Ensure you define privileges carefully, based on a solid understanding of the business uses of each application.
5. Ensure The SSO System is Highly Available Secure
SSO is a mission-critical service and a single point of failure for your applications. If you are running the SSO server on-premises, you must set up redundancy and ensure the server has appropriate network and application layer security controls. If you are using a cloud service, see what reliability or availability tiers it offers, and select the most suitable for your organization. Ensure you have correctly configured the provider’s security options.
We’ll write the code in NodeJS and it will use JWT as a mean of identifying users.
The mechanism will consist of two applications, the identity provider service and an adapter that can be used by back-end clients as a middleware.
SSO authentication process is done based on some redirects that go back and forth between the two parties and the identity provider returns the information back to the target application.
To do so, we need to be able to send information along these redirects. The convenient way would be to use request headers, but this is not possible in the case of redirects as headers from the previous response are not added to the new request for the redirected location.
Therefore, we are left with two options:
- Place the information in the query string for the redirected URL as a parameter.
- Set a cookie.
In our example, we will use only the first option.
The Identity Provider
A simple setup for this service would look like this:
const app = require("express")();
const path = require("path");
const cookieParser = require("cookie-parser");
const jwt = require("jsonwebtoken");
const port = 3001;

app.use(cookieParser("cookie-secret"));

const user = {
  UID: "25CUZ20",
  email: "user@gmail.com",
  password: "123",
};

app.listen(port, () => {
  console.log("Auth Server is up at port", port);
});
We have a basic express server that uses cookie-parser module to set and read cookies. We have also included the jsonwebtoken package as it will be used for creating JSON web tokens.
The identity provider must have access to our user base but, for the purpose of this example, we have hard-coded a user on the server. In a real-life scenario, this user would be replaced by a connection to the database from which users are retrieved.
Because this service will only take care of the authorization, the user information is brief. We only need to have access to the user’s credentials. If we are an organization and we want to easily identify users we can also assign each of them a unique identifier, a user id that will also be included here.
Login functionality
Users are redirected to a login page if they are not authenticated. The login system can vary based on the needs.
To keep things simple we used a classic email & password combination, which can be sent over a GET request.
app.get("/login-page", (req, res) => {
  res.sendFile(path.join(__dirname, "/index.html"));
});

app.get("/login", (req, res) => {
  const { email, password, redirectUrl } = req.query;

  if (email === user.email && user.password === password) {
    const token = jwt.sign({ UID: user.UID }, "jwt-secret-one", {
      expiresIn: "1d",
    });

    res.cookie("Authorization", token, {
      expires: new Date(new Date().setDate(new Date().getDate() + 1)),
      httpOnly: true,
      signed: true,
    });
    res.redirect(redirectUrl);

    return;
  }

  res.status(401).send();
});
Once the user is authenticated against the identity provider service, a request with his credentials are sent to the server along with a redirectUrl. This redirectUrl is the application that the user previously tried to access.
If the credentials match, then a long life token (1d, 12h) is issued that is stored in a secure way. This can be done using several cookie options, like httpOnly in our case, which will make it available only for the back-end code.
In our scenario, this token is valid for 1 day, meaning that once a user has authenticated against an application, he can use any other application that shares the same SSO mechanism for 1 day without being required to re-authenticate.
Handshakes
To complete this service, we need to add two more requests:
- the main request that will be used by the client to authenticate their user and emit a short life token that contains the user information ****
- another optional request that can be used by the client to decrypt the token and get the user information
app.get("/auth", (req, res) => {
  const authToken = req.signedCookies["Authorization"];
  const { redirectUrl } = req.query;
  if (!authToken) {
    return res.redirect(`/login-page?redirectUrl=${redirectUrl}`);
  }

  try {
    const { UID } = jwt.verify(authToken, "jwt-secret-one");
    if (user.UID) {
      const indentificationToken = jwt.sign({ UID }, "jwt-secret-two", {
        expiresIn: "30s",
      });

      return res.redirect(
        `${redirectUrl}?indentificationToken=${indentificationToken}`
      );
    }
  } catch (err) {
    return res.redirect(`/login-page?redirectUrl=${redirectUrl}`);
  }
});

app.get("/get-identity", (req, res, next) => {
  const { indentificationToken } = req.query;

  try {
    const { UID } = jwt.verify(indentificationToken, "jwt-secret-two");

    if (user.UID === UID) {
      res.json({ UID });
    }
  } catch {
    res.status(401).send();
  }
});
The first request /auth will check if the SSO cookie was set. In case it was, the identity provider will emit a short live token that will be sent to the target application (consumer). Otherwise, it will redirect the user to the login page.
The second request /get-identity will decrypt the short live token and return the user information back to the target application.
THE CLIENT ADAPTER
const AUTH_SERVER = "<http://localhost:3001>";

const authMiddleware = async (req, res, next) => {
  const { indentificationToken } = req.query;
  const { href: target } = new URL(
    req.route.path || "",
    `http://${req.headers.host}`
  );

  if (indentificationToken) {
    const fetchRes = await fetch(
      `${AUTH_SERVER}/get-identity?indentificationToken=${indentificationToken}`
    );

    if (fetchRes.status === 200) {
      const { UID } = await fetchRes.json();
      req.UID = UID;
      return next();
    } else {
      return res.redirect(`${AUTH_SERVER}/auth?redirectUrl=${target}`);
    }
  }

  res.redirect(`${AUTH_SERVER}/auth?redirectUrl=${target}`);
};

app.get("/my-page", authMiddleware, (req, res) => {
  res.send("Hello you are in" + req.UID);
});
The client adapter can be used as a middleware to protect the desired resources. This adapter will do the handshake with the identity provider where it will perform a redirect to the /auth endpoint to get the short live token with the user information and then it will do a GET request to decrypt that token and extract the user information
SSO with different subdomains
Imagine that organization has several websites: domA.com, a.domA.com, b.domA.com, c.domB.com, and d.domB.com. The primary site, a.domA.com, serves as the main login portal. Once users successfully log in there, they gain access to all the organization’s websites.
The first three sites share the subdomain domA.com. When a user logs in via the a.com site, an authorization token is set in cookies on this subdomain. This token enables seamless access to the other two sites within the same domain.
When a user attempts to visit a.domA.com or domA.com, the system checks if the authorization token with the specific key name (ex. user_token) exists in the cookies. If the token is present, the user is granted access to the content. If not, the user is redirected to the login page on a.domA.com.
Implementing Single Sign-On (SSO) for c.domB.com and d.domB.com required additional effort. Since these sites are on different subdomain, they cannot directly access the cookies set by the a.domA.com login.
There are two ways for users to access c.domB.com or d.domB.com:
- Not Logged into
a.domA.com:- The user is redirected to the
a.domA.comlogin page with specific query parameters, including the desired URL: https://a.domA.com/login?url=https://c.domB.com/ - Upon successful login, the user is redirected to a URL that sets the token:https://a.domA.com/external_redirect?url=https://c.domB.com/set_token?token={token}&redirect_url=https://c.domB.com/
- This url will redirect user to the new page: https://c.domB.com/set_token?token={token}&redirect_url=https://c.domB.com/. Now, we are on the app.lidarmill.com and can get authorization token from URL params.
- After the token is set in the cookies, the user is redirected one last time to the final destination (in our case it will be c.domB.com), ensuring they are logged into Lidarmill. The same things happens when the user tries to access [d.domB.com]
- The user is redirected to the
- Already Logged into Accounts:
- When the user logs into
a.domA.com, an invisible iframe is triggered that redirects to c.domB.com and sets the authorization token in the cookies (the user doesn’t see this action). This allows the user to access Lidarmill. If they attempt to openc.domB.com, they will automatically be redirected to c.domB.com.
Using "third-party" cookies for login:
Cookies set through an invisible iframe are considered "third-party" cookies. In the future, browsers plan to restrict their use and introduce new methods for managing them. Browsers are taking different approaches to address this issue. Mozilla Firefox and Safari have already disabled "third-party" cookies by default, while Chrome only blocks them in Incognito mode. However, Chrome plans to phase out "third-party" cookies entirely by 2025. To prepare for this transition, Chrome has outlined four alternatives to replace these cookies. Once these changes are implemented, this alternative method of logging in using redirects will be automatically used.
Now, it works in Chrome, Mozilla, and Safari on Mac and Windows if "third-party" cookies are enabled, but doesn't work on Linux OS.
- Logout:
When a user logs out from a.domA.com, they are also logged out from c.domB.com. This is managed using an invisible iframe, where the iframe’s source is set to c.domB.com/remove_cookies. The iframe sends a message to c.domB.com to clear its cookies and it clears using a specific method call from the 'js-cookie' library.
If a user logs out from c.domB.com first, the system removes the relevant cookies and then redirects the user to the a.domA.com login page. Before this redirection, the system also clears the a.domA.com cookies, ensuring that the user is logged out from all company sites.
SSO Flowcharts: